
A bottle with syringe promises clean, exact dosing, yet tiny design flaws can quietly spoil formulas, invite contamination, and spark customer complaints before anyone notices.
Smart buyers ignore hype, focusing on materials, cleanability, and wear, because details decide shelf life, safety, and brand looks sharp or sloppy.
Reading Notes: Bottle with Syringe Essentials
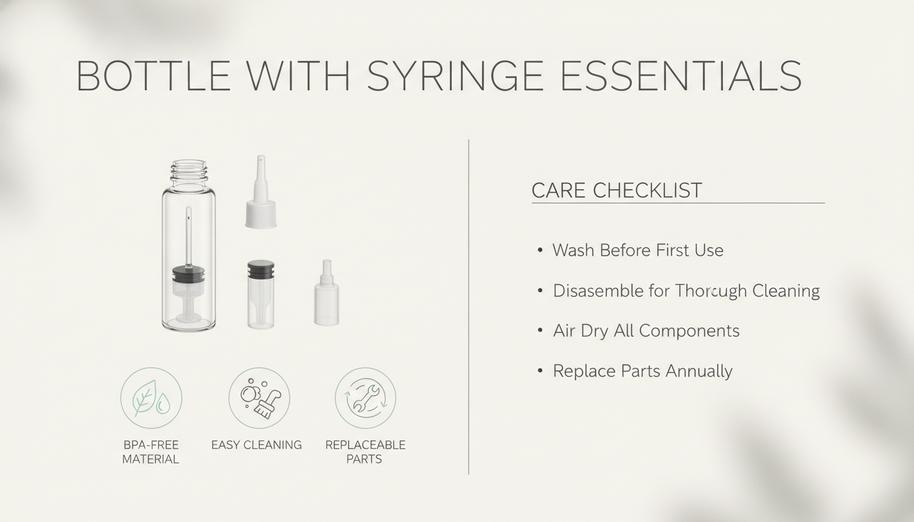
➔ Material & Design: Choose durable polypropylene, HDPE or borosilicate glass with smooth surfaces, ergonomic grips and reliable closures to minimize hidden crevices.
➔ Cleaning Steps: Disassemble bottle body and shell; sanitize the syringe barrel and plunger; rinse the elastomer tip protector and screw cap to remove residues and biofilms.
➔ Replacement Schedule: Swap high-use polypropylene components monthly, replace glass bodies quarterly, and change immediately if coatings fade or wear appears.
Bottle With Syringe: Hidden Contamination Risks
A syringe bottle looks neat and precise, but tiny leftovers can turn messy fast. From stopper wear to tip contact, a syringe bottle dispenser quietly collects bacteria. This breakdown shows how a bottle + syringe setup can slip on hygiene when FDA safety guidelines are overlooked.
Biofilm Build-Up on Rubber Stopper
- Contact loop in a bottle with syringe:
- Plunger touches rubber → moisture sticks → repeat entry
- Microfilm forms, then matures into biofilm formation
- Surface behavior:
- Dynamic micro-cracks in elastomeric stoppers hold microorganisms
- Elastic rebound weakens, sealing drops, contamination rises
- Usage patterns:
- High-frequency dosing in a syringe bottle amplifies bacteria spread
- Warm storage speeds growth; cool slows but doesn’t stop it
- Control actions:
- Regular wipe-down of the stopper face
- Limit open-air exposure during refills
Short note: even a clean-looking bottle with syringe can hide a thin, sticky layer of biofilm that standard rinsing won’t remove without active bacterial adhesion mechanisms disruption.
Microbial Growth Inside the Dosage Chamber
A syringe bottle dispenser traps droplets along the barrel wall. That thin film feeds microbial life. Left overnight, bacteria and fungi settle into the dosage chamber, escalating microbial contamination risks.
-
- Residual liquid after dosing
-
- Warm air cycles inside the dispenser
-
- Nutrient traces → fast growth → rising contamination
Data snapshot:
| Condition | Residual Volume (µL) | Growth Rate (CFU/hr) | Risk Level |
|---|---|---|---|
| Freshly used | 5–10 | 10–20 | Medium |
| 6 hours idle | 10–20 | 30–60 | High |
| 24 hours idle | 20–40 | 80–150 | Very High |
Tip: rinse and fully expel air twice after each use of a bottle with syringe to cut carryover, ensuring compliance with strict microbiological testing protocols.
Residue Accumulation in the Narrow Neck
Step flow for a bottle + syringe neck:
- Thick liquid climbs the narrow neck during dispensing
- Reversal leaves a ring of residue
- Repeats build accumulation and sticky debris
- Partial blockage alters dose accuracy
- Cleaning misses the shoulder area → hygiene dips
Quick fixes:
- Use a slim brush that reaches the shoulder
- Warm rinse, then a full dry cycle
- Avoid overfilling the syringe bottle
Cross-Contamination via the Anti-Drip Tip
- Contact chain:
- Tip touches skin or surface → picks up pathogens
- Returns to cap → transfers to inner seal
- Transfer paths in a bottle with syringe:
- Tip → cap liner → next dose stream
- Tip → finger → plunger → chamber
- Risk multipliers:
- Shared use of a syringe bottle dispenser
- Skipped cleaning of elastomer parts
“Reusable dispensing tips remain a frequent vector for low-level cross-use contamination in consumer packaging,” notes a 2025 packaging hygiene brief by a global materials research group.
Keep the anti-drip tip clean, or swap caps between uses. Even a careful bottle with syringe routine can spread bacteria if that tiny tip gets ignored.
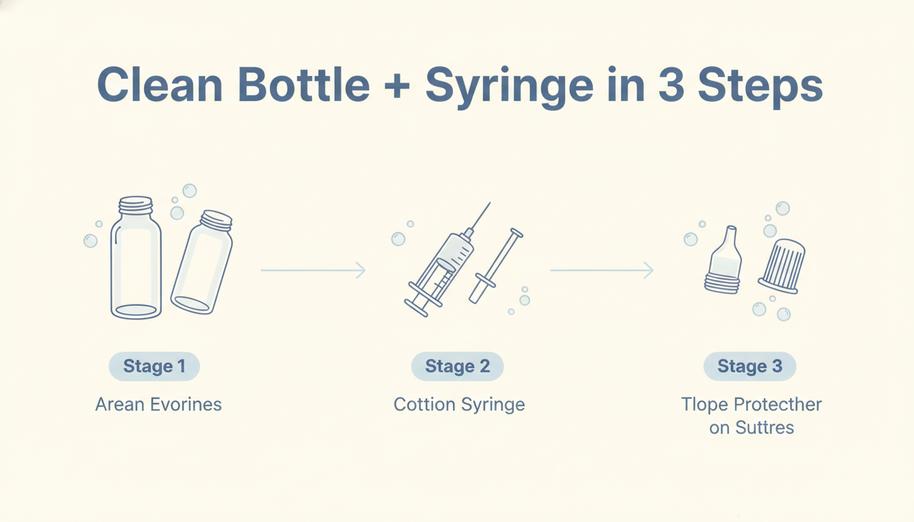
3 Key Steps To Clean Your Bottle With Syringe
Keeping a bottle with syringe fresh isn’t just about looks—it’s about safe use and smooth flow. Implementing proper anti-contamination techniques prevents clogging, weird smells, and residue buildup while maintaining compliance with ISO 22716 GMP standards. If you’ve got a bottle + syringe combo in daily rotation, this quick routine keeps everything working like new.
Step 1: Disassemble Bottle Body (HDPE) and Outer Shell
Start by breaking down the Bottle Body made of High-Density Polyethylene (HDPE) from its Outer Shell. Don’t rush this part; hidden gunk loves tight seams.
- Remove the cap from the Bottle
- Separate the Syringe attachment carefully
- Check threading and inner grooves
Now go a bit deeper:
- Twist off all closure parts
- Pull apart inner seals
- Inspect each joint for residue
For a cleaner workflow:
- ◦ Lay out each piece in order
- ◦ Rinse before scrubbing
- ◦ Air exposure helps loosen buildup
Short passes help: rinse, pause, inspect. Then repeat. A well-designed system like Topfeelpack makes disassembly feel less fiddly, especially when handling a syringe bottle used daily.
Step 2: Sanitize Syringe Barrel (Polypropylene) & Plunger Rod
Focus on the Syringe Barrel built from Polypropylene and the Plunger Rod—this is where most buildup hides in a bottle with syringe setup.
Break it down like this:
- Outer rinse of the Barrel
- Inner flush using warm water
- Manual wipe of the Rod
Then go layered:
- Pre-rinse
- Clear visible residue
- Rotate the Syringe for even flow
- Deep clean
- Use mild soap inside the Syringe Barrel
- Slide the Plunger Rod repeatedly
- Final sanitize
- Rinse until no bubbles remain
- Let parts dry upright following environmental sanitization guidelines
Quick note: markings on the barrel fade if scrubbed too hard—go easy. Many users of Topfeelpack systems mention how smooth the piston action stays when cleaned this way.
Step 3: Rinse Tip Protector (Elastomer) and Screw Cap
The Tip Protector made of Elastomer and the Screw Cap control flow and sealing, so don’t skip them.
- Detach the Protector from the Cap
- Rinse the Tip under steady water
- Check for sticky residue
Then refine:
- Flush the anti-drip tip
- Rotate while rinsing
- Shake off excess water
Small details matter here. A clogged tip ruins the whole bottle + syringe experience. Keep edges clean, and sealing stays tight. With consistent care, even a frequently used airless refillable syringe bottle from Topfeelpack keeps dispensing smooth and controlled without surprise leaks.
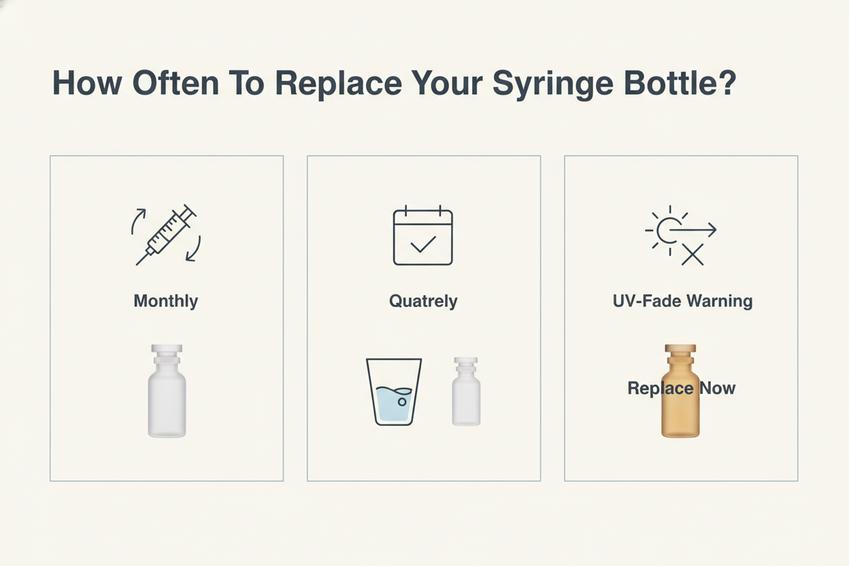
How Often To Replace Your Syringe Bottle?
Keeping a bottle with syringe fresh isn’t just neat-freak energy—it directly affects dosing accuracy, cleanliness, and product life under the EU Cosmetic Safety Regulation. If you’re using a syringe bottle daily, small wear signs show up faster than you’d expect.
High-Frequency Use: Monthly Swap of Polypropylene Components
When usage ramps up, your plastic parts take the hit. A syringe bottle used daily builds friction and residue, even if it looks fine.
- Core material focus
- Polypropylene parts wear subtly
- Plunger rods lose tight seal
- Barrel interiors develop micro-scratches
- Polypropylene parts wear subtly
- Why monthly replacement works
- Maintains smooth dosing schedule
- Reduces contamination from aging plastic
- Practical routine
- Week 1–3: rinse and dry after each use
- Week 4: swap all polypropylene component pieces
Topfeelpack designs these components for quick change-outs, so your bottle with syringe doesn’t slow you down mid-routine.
Moderate Use: Quarterly Replacement of Borosilicate Glass Body
A syringe dispenser bottle with a glass body lasts longer, but not forever. With moderate usage, buildup happens slowly.
- Material durability: borosilicate glass durability resists chemical degradation and thermal shock
- Frequency balance: quarterly replacement keeps things clean
- Hidden risk: residue film affects liquid purity
Short check-ins help:
Look at clarity. Feel for texture. Smell the interior. If anything seems off, don’t wait for the full schedule.
Topfeelpack glass bodies are engineered for long durability, but even premium builds benefit from timely swaps to keep your bottle with syringe performing like new.
Visual Wear: Immediate Change When UV Coating or Frosting Fades
Surface cues are your fastest inspection tool, ensuring adherence to rigorous ASTM packaging standards.
- Outer appearance signals
- Fading UV coating
- Patchy frosting or dull finish
- What it means
- Surface wear = weakened protection
- Possible micro damage affecting hygiene
- Action path
- Spot → Confirm → Replace immediately
A worn syringe bottle isn’t just cosmetic—it can compromise barrier performance. When visual indicator changes show up, swap it out for a fresh syringe style airless cosmetic bottle to keep your setup sharp and safe.
Syringe Vs. Pipette: Which You Need
Choosing between tools for liquid handling can feel oddly specific, yet it matters a lot in real use. From a simple bottle with syringe setup to an airless bottle, each option behaves differently, especially when accuracy, flow control, and formula viscosity come into play.
Syringe
A bottle with syringe setup leans on direct force and positive displacement control, which changes how liquid moves compared to air-based tools. The plunger pushes fluid through the barrel, giving tight command over dosage and measurement while maximizing precision dispensing benefits.
- Core working logic
- Positive displacement system
- Fluid moves only when the plunger advances
- No air gap, so thicker liquids don’t lag
- Delivery components
- Needle or anti-drip tip manages output precision
- Injection flow remains steady, even under pressure
- Positive displacement system
- Why people pick a syringe bottlePerformance snapshot
- Handles viscous gels, oils, and high-potency serums
- Keeps liquid transfer clean and controlled
- Works well in a bottle + syringe combo, much like a specialized lotion bottle or cosmetic tube
| Parameter | Syringe System | Pipette System | Hybrid bottle with syringe |
|---|---|---|---|
| Viscosity handling | High | Low | Medium–High |
| Dose accuracy | Very high | Moderate | High |
| Flow control | Manual exact | Air-based | Controlled |
| Drip prevention | Strong | Weak | Strong |
Topfeelpack leans into this design with a bottle with syringe format that feels intuitive in hand. Short push, clean output. No mess.
Pipette
A pipette feels lighter, functioning as a fluid tool built for quick aspiration and dispensing. Compared to a traditional dropper bottle setup, it shines when fluids are thin and rapid transfer is needed, though many brands are now transitioning to pump bottles or sealed airless pump cosmetic bottles.
- Quick traits
- Uses air pressure for liquid handling
- Reads volume through markings or digital settings
- Common in lab and cosmetic dropper formats
- Where it works best
- Low-viscosity liquids like water or alcohol
- Fast repetitive transfers
- Situations where ultra-fine accuracy is less tied to force
- Where it struggles
- Thick fluids resist suction
- Air gaps reduce consistency
- Not ideal for high-viscosity formulations where a cream jar or dual chamber bottle would be unsuitable
• In casual use, a pipette feels quick but less grounded
• In packaging, a bottle fitted with syringe often beats it for controlled dosing
A syringe bottle, especially from Topfeelpack, bridges usability and precision. Meanwhile, pipettes stay in their lane—fast, light, but not built for push-driven control like a bottle with syringe.
Post time: Jul-23-2026
